Mummy Apple Hand Pies

-
Prep Time20 mins.
-
Cook Time30 mins.
-
Serving6
-
Ready In50 mins.
These Mummy Apple Hand Pies are loaded with apple pie filling and topped with a mummy inspired lattice crust making them perfect for your Halloween party.


Mummy Apple Hand Pies (Apple Hand Pies)
These Mummy Apple Hand Pies are loaded with apple pie filling and topped with a mummy inspired lattice crust making them perfect for your Halloween party.
Print
Pin
Rate
Servings: 6
Calories: 561kcal
Ingredients
Pie Crust
- 2 cups All Purpose Flour
- 1 tb. White Granulated Sugar
- ½ tsp. Salt
- 1 stick Unsalted Butter ½ cup
- ¼ cup Vegetable Shortening 4 tb.
- ¼ cup Ice Water
Apple Filling
- 3 Apples
- ½ stick Butter ¼ cup
- ½ cup White Granulated Sugar
- 1 tb. Flour
- ¼ cup Water
- ½ tsp. Cinnamon
- ½ tsp. Salt
Instructions
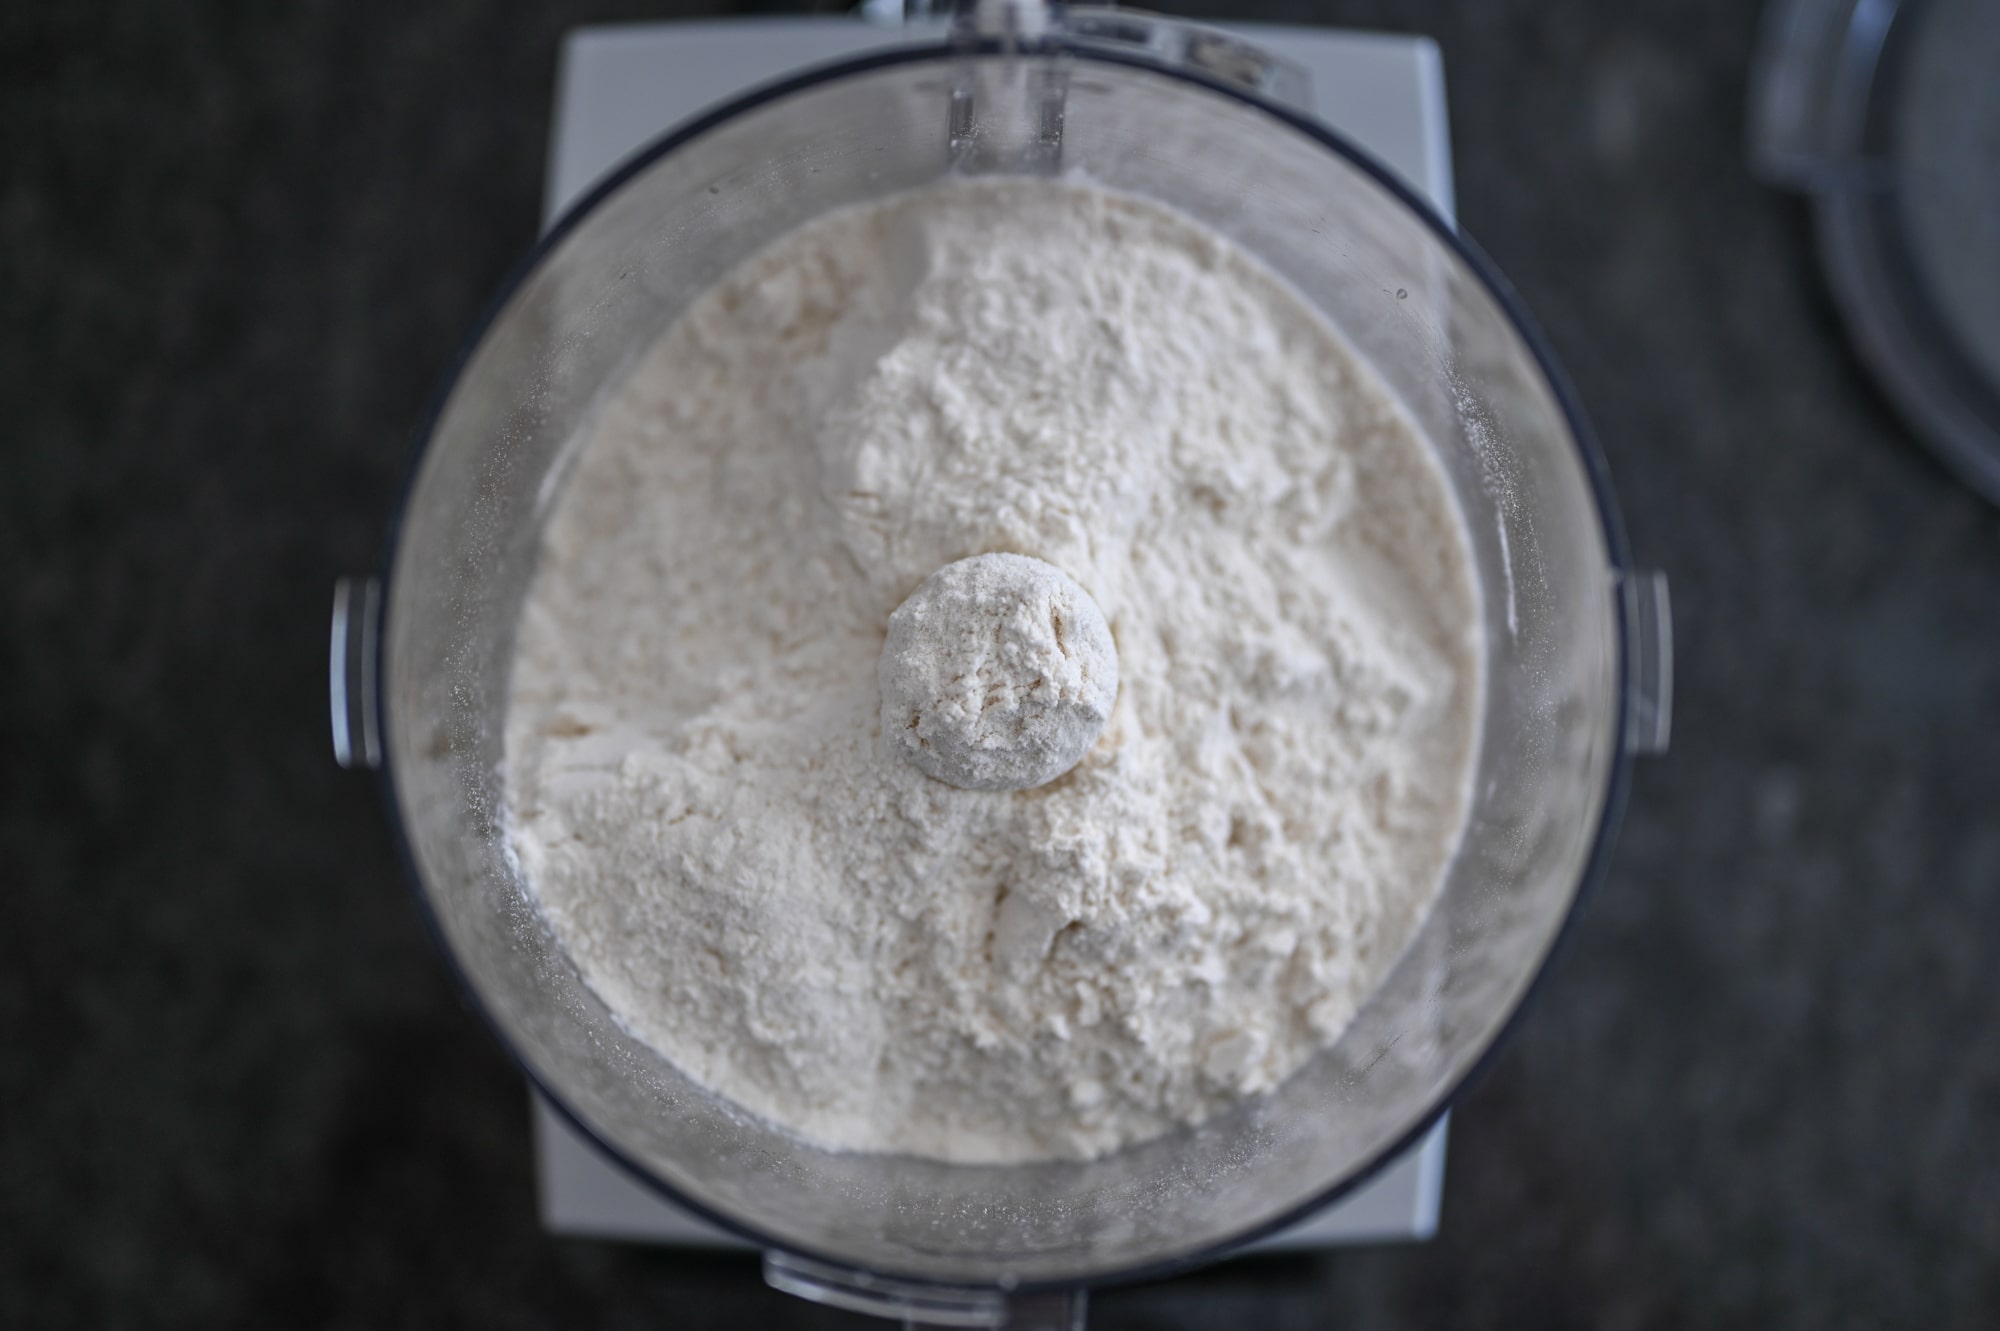
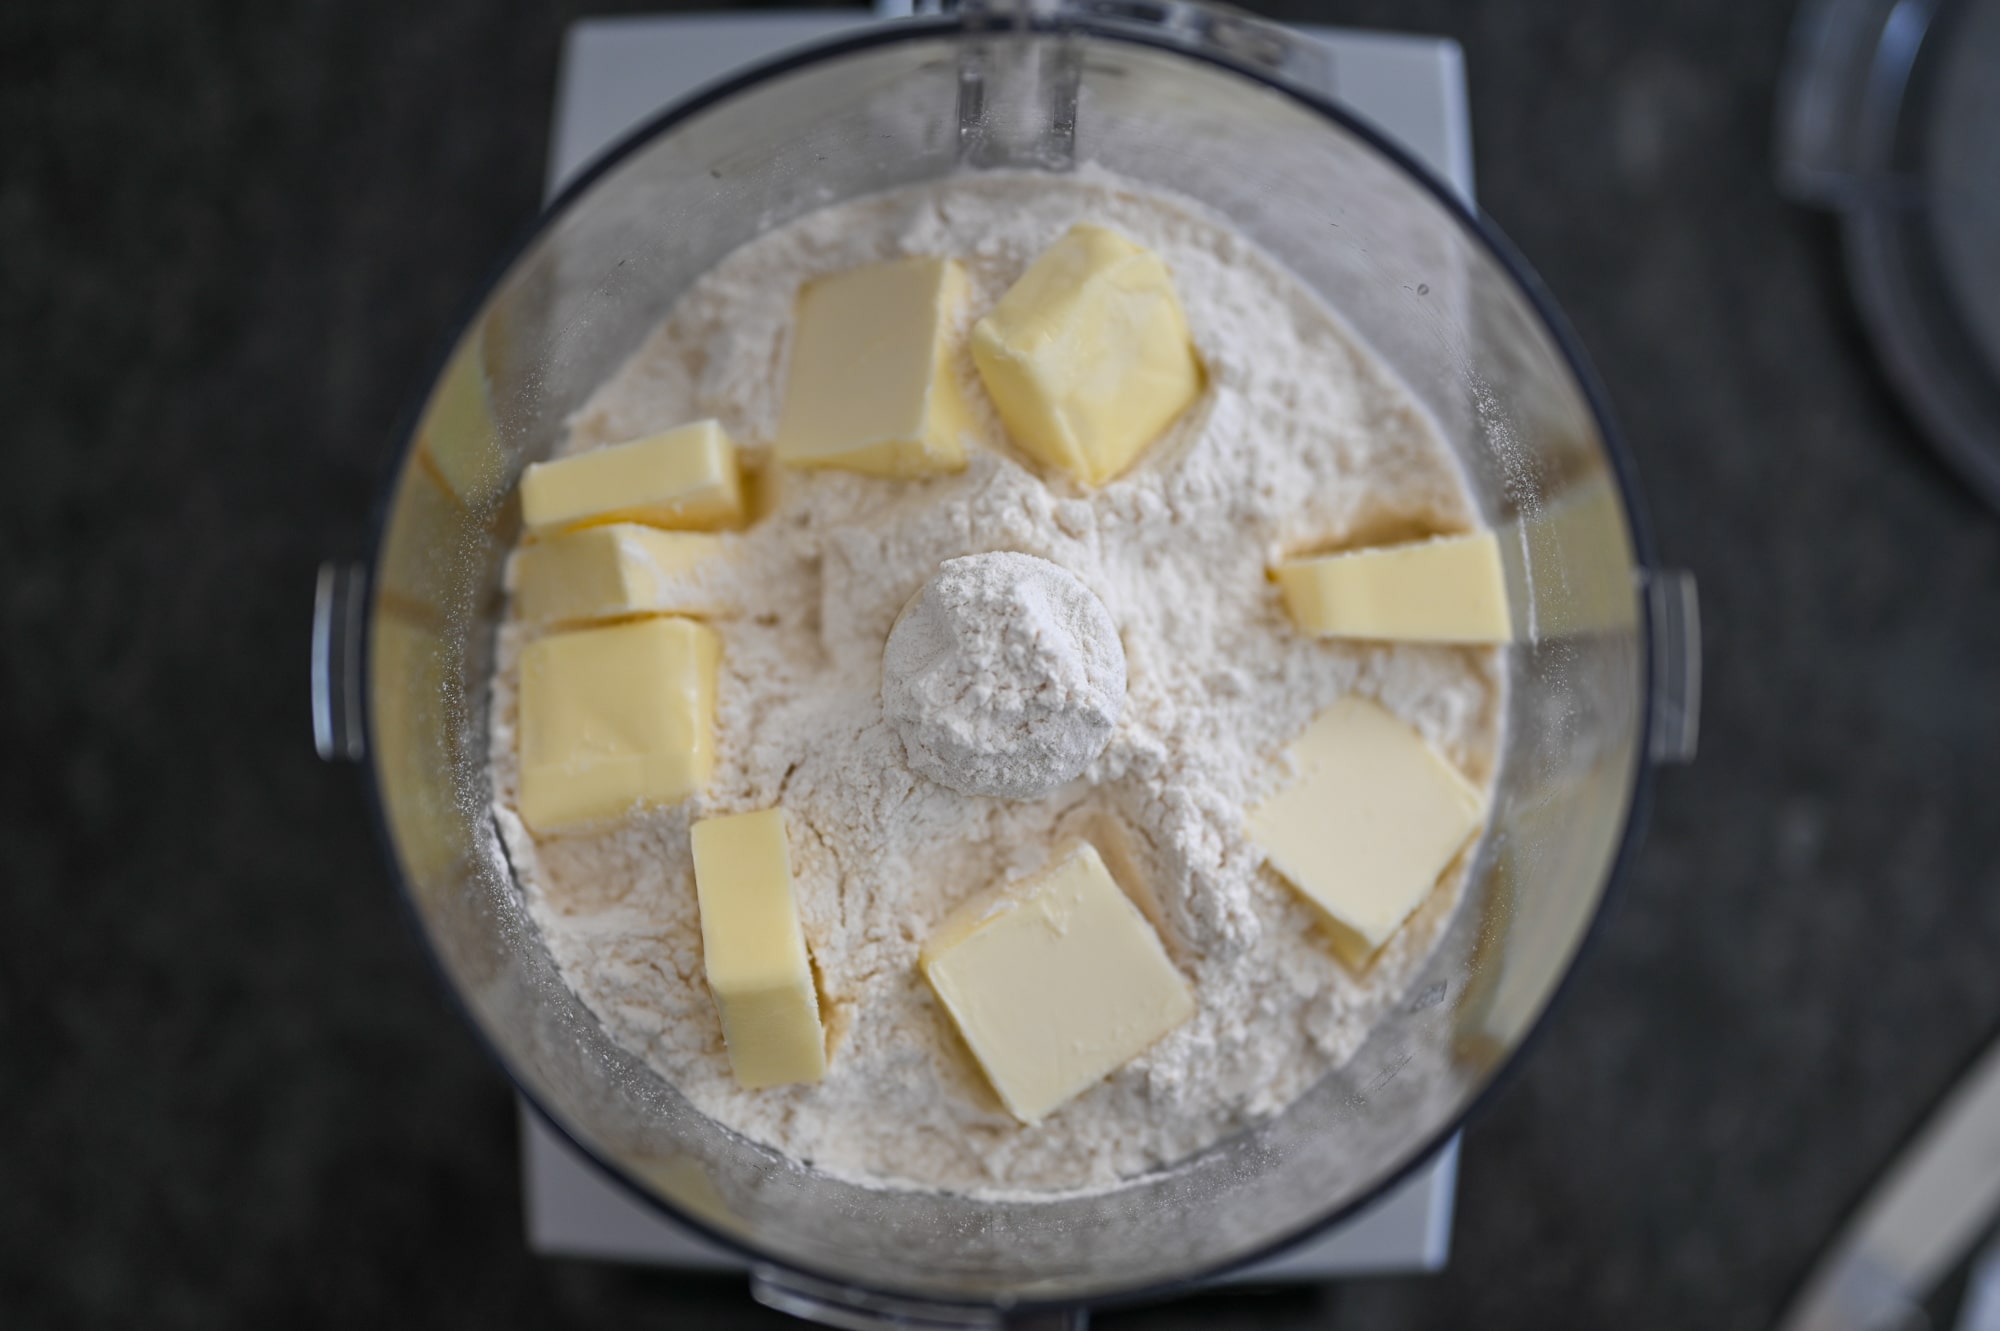
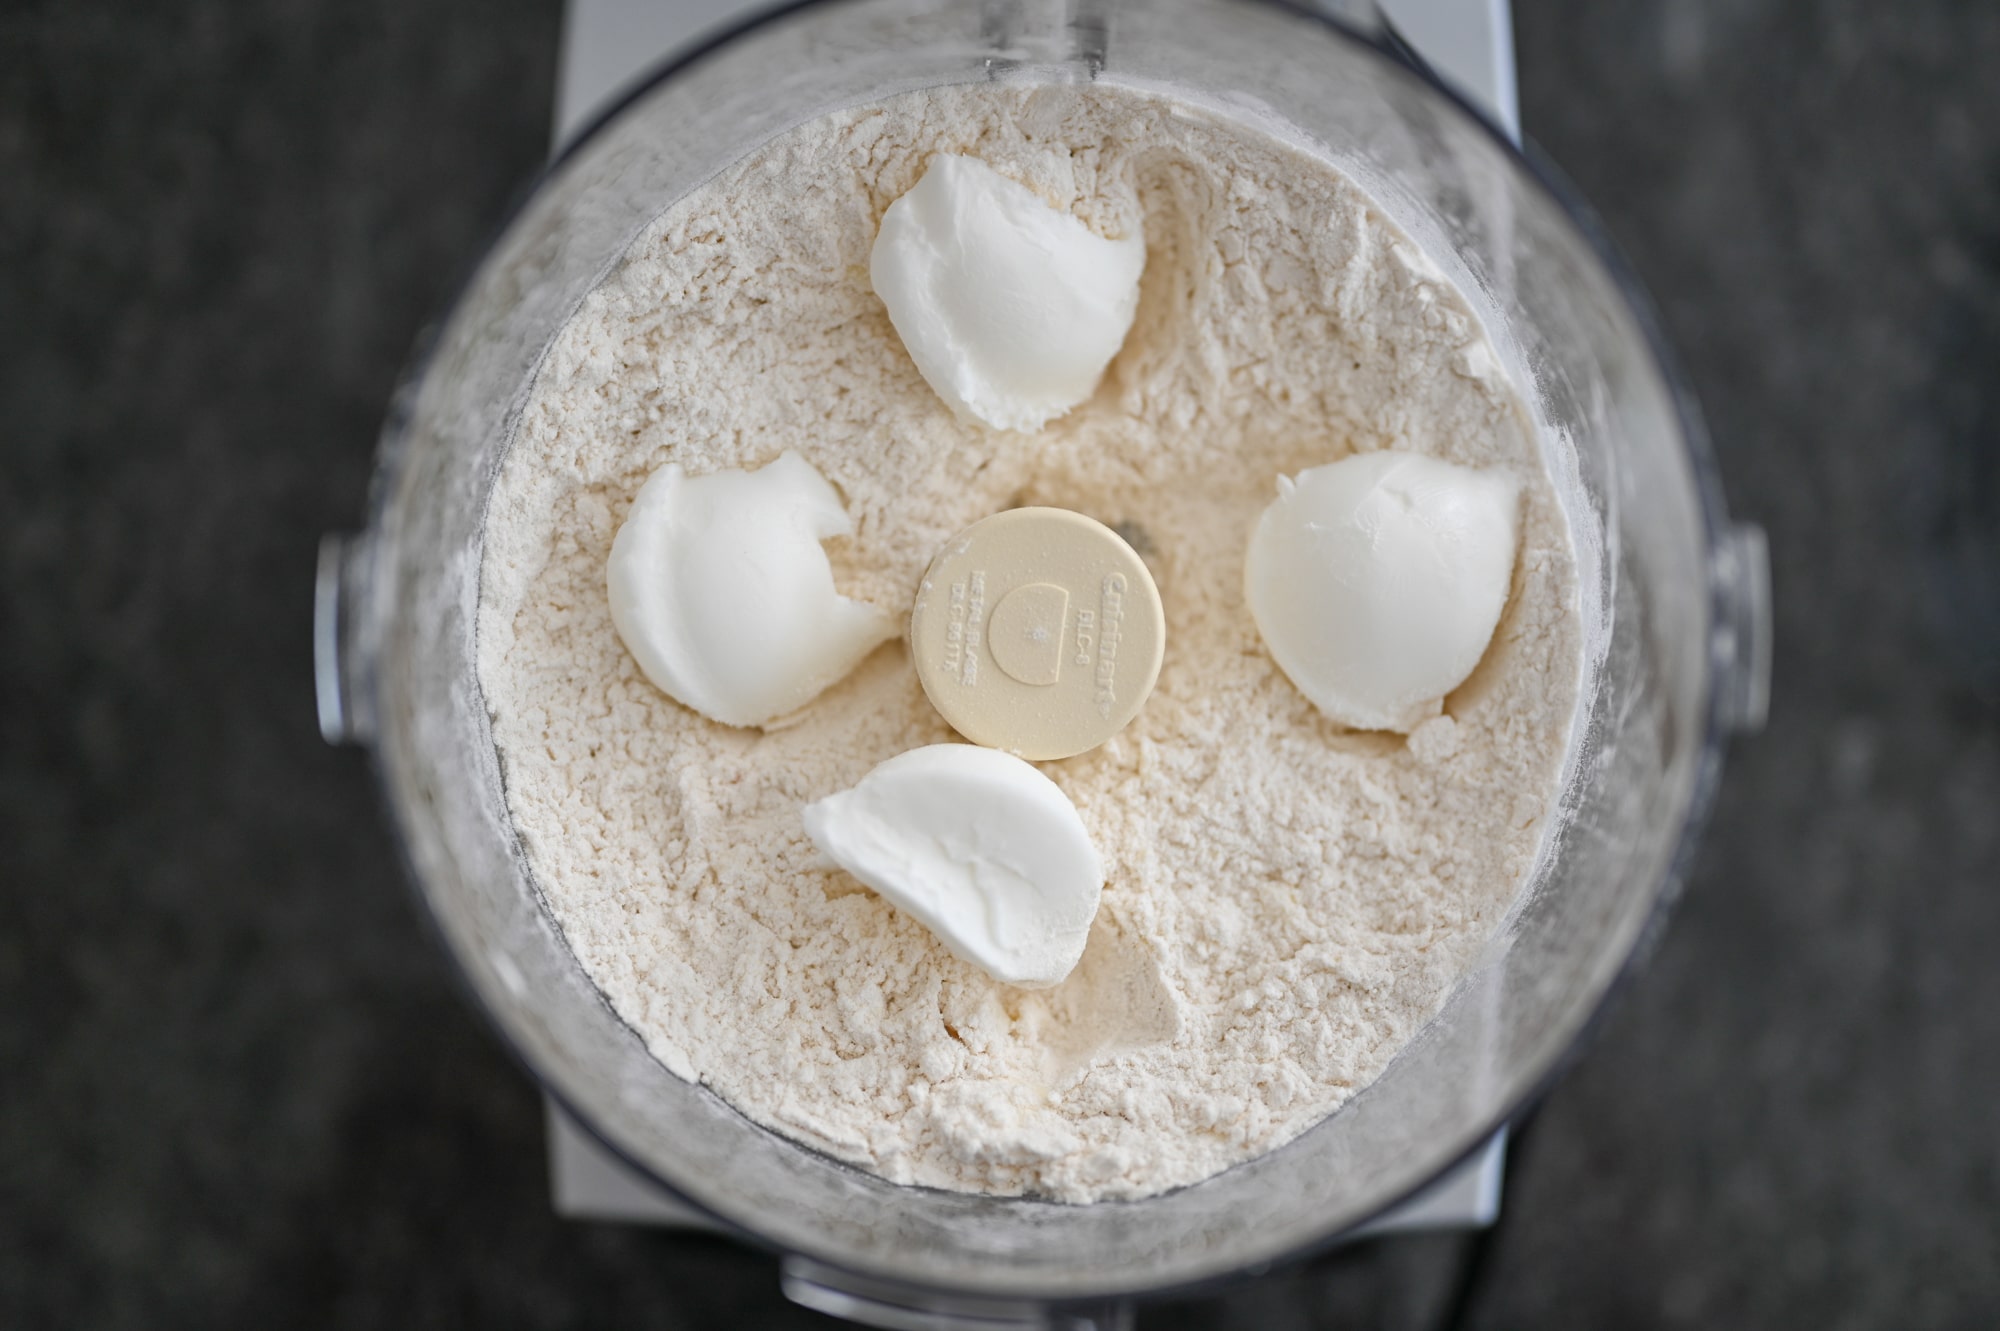
- Measure out the flour, sugar and salt and place in your food processor. Dice the cold butter and shortening and place in the food processor. Pulse about 10 times just until the butter is about ½ inch in size.
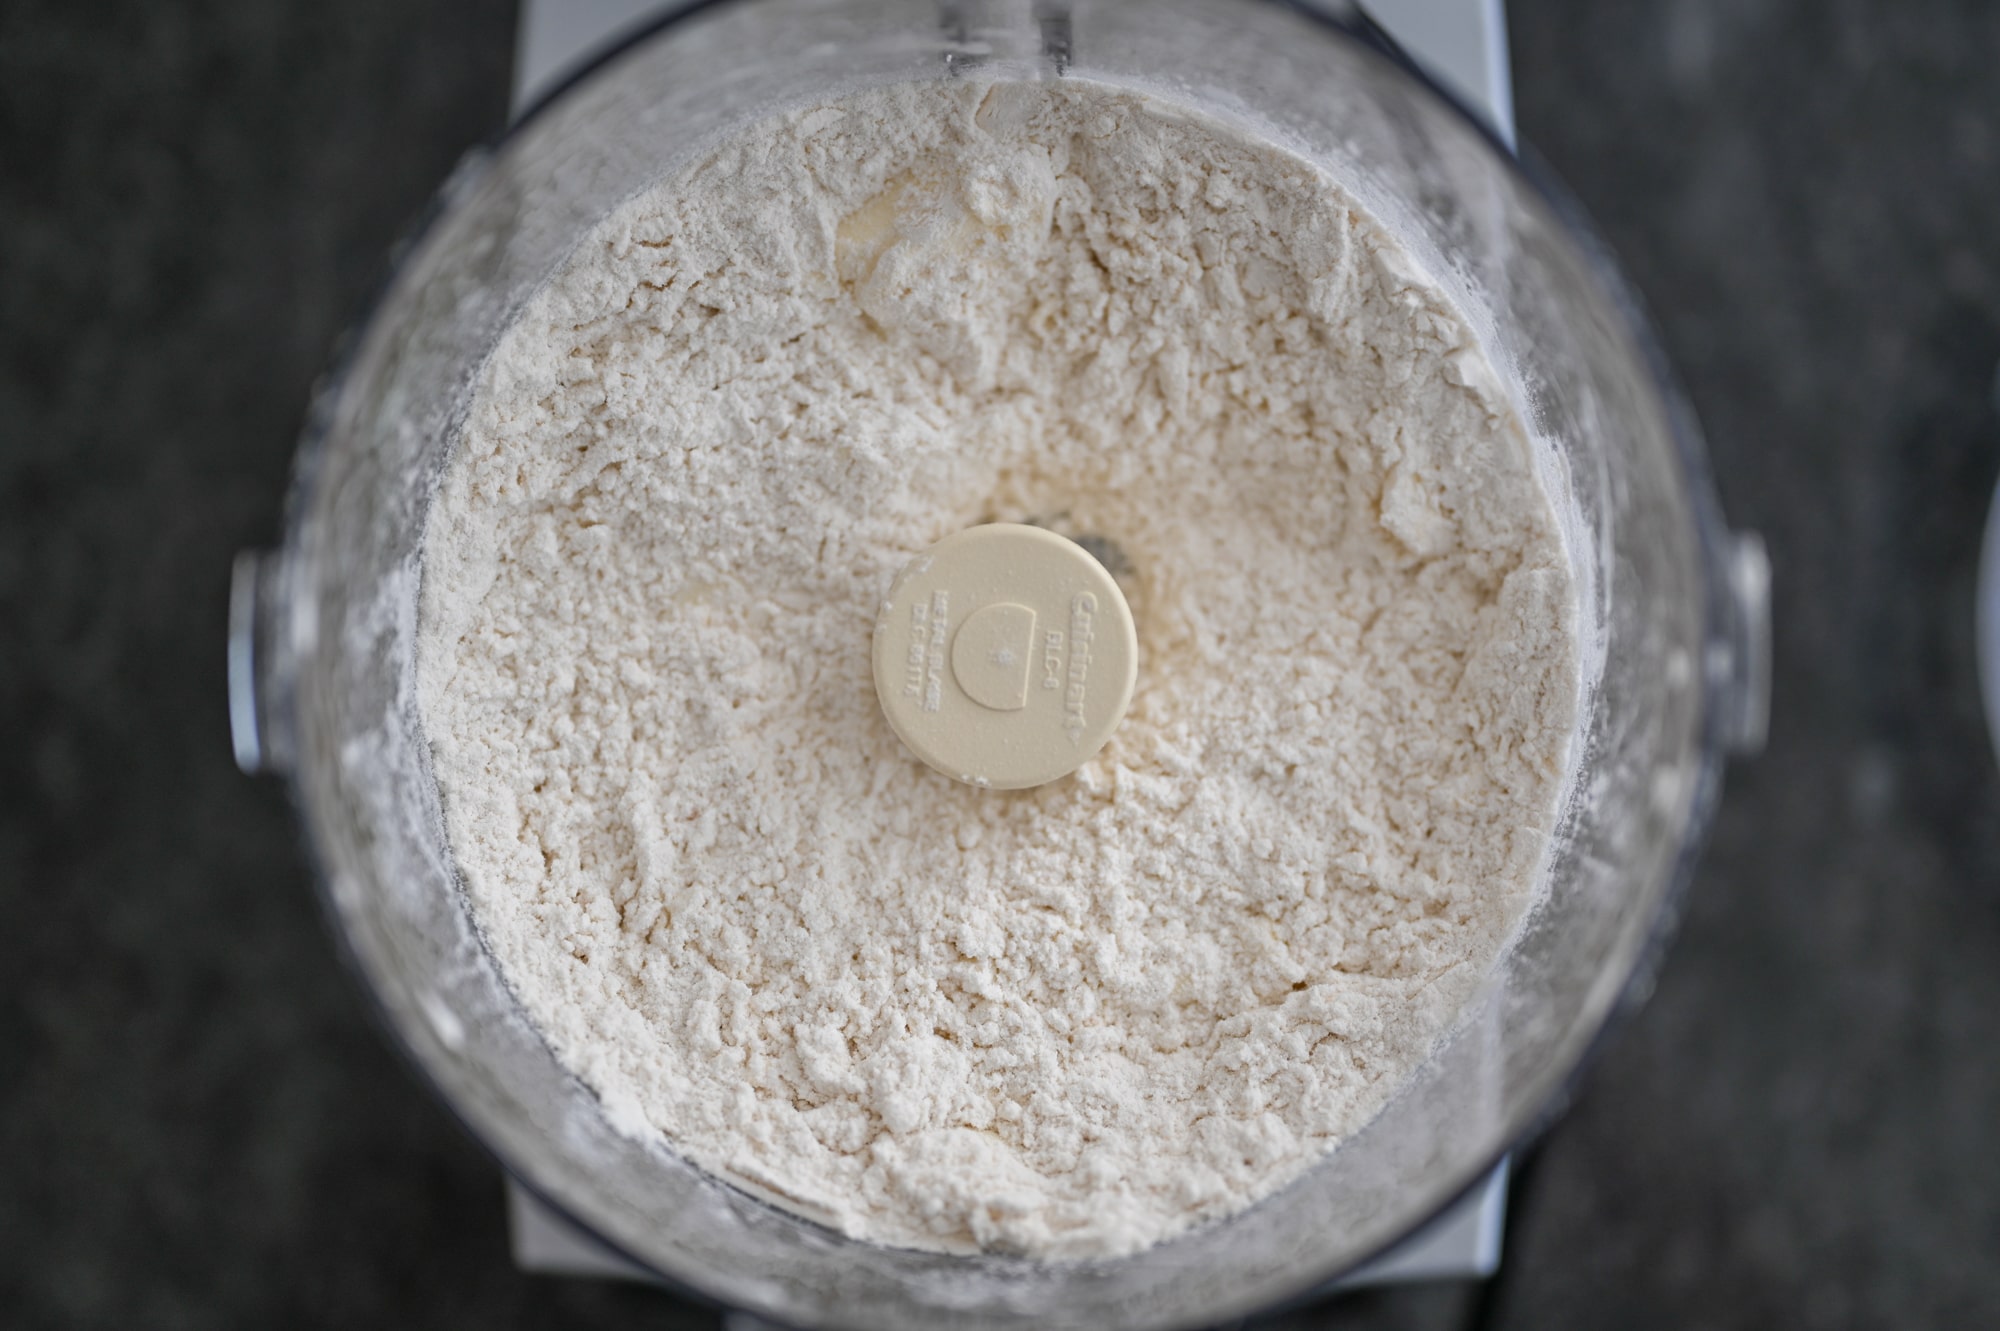
- Measure out a ½ cup of cold water and add a couple of ice cubes to keep it as cold as possible while working with it. Turn the food processor on and add the water with the processor running (without the ice.)As soon as the dough forms into a ball, turn the food processor off.
- Dump the dough onto a floured surface and form a ball. Wrap in plastic wrap and refrigerate for at least 30 minutes before using. (Dough can be frozen at this point for later use.)
- Peel the apples and dice into small ½-1 inch cubes.
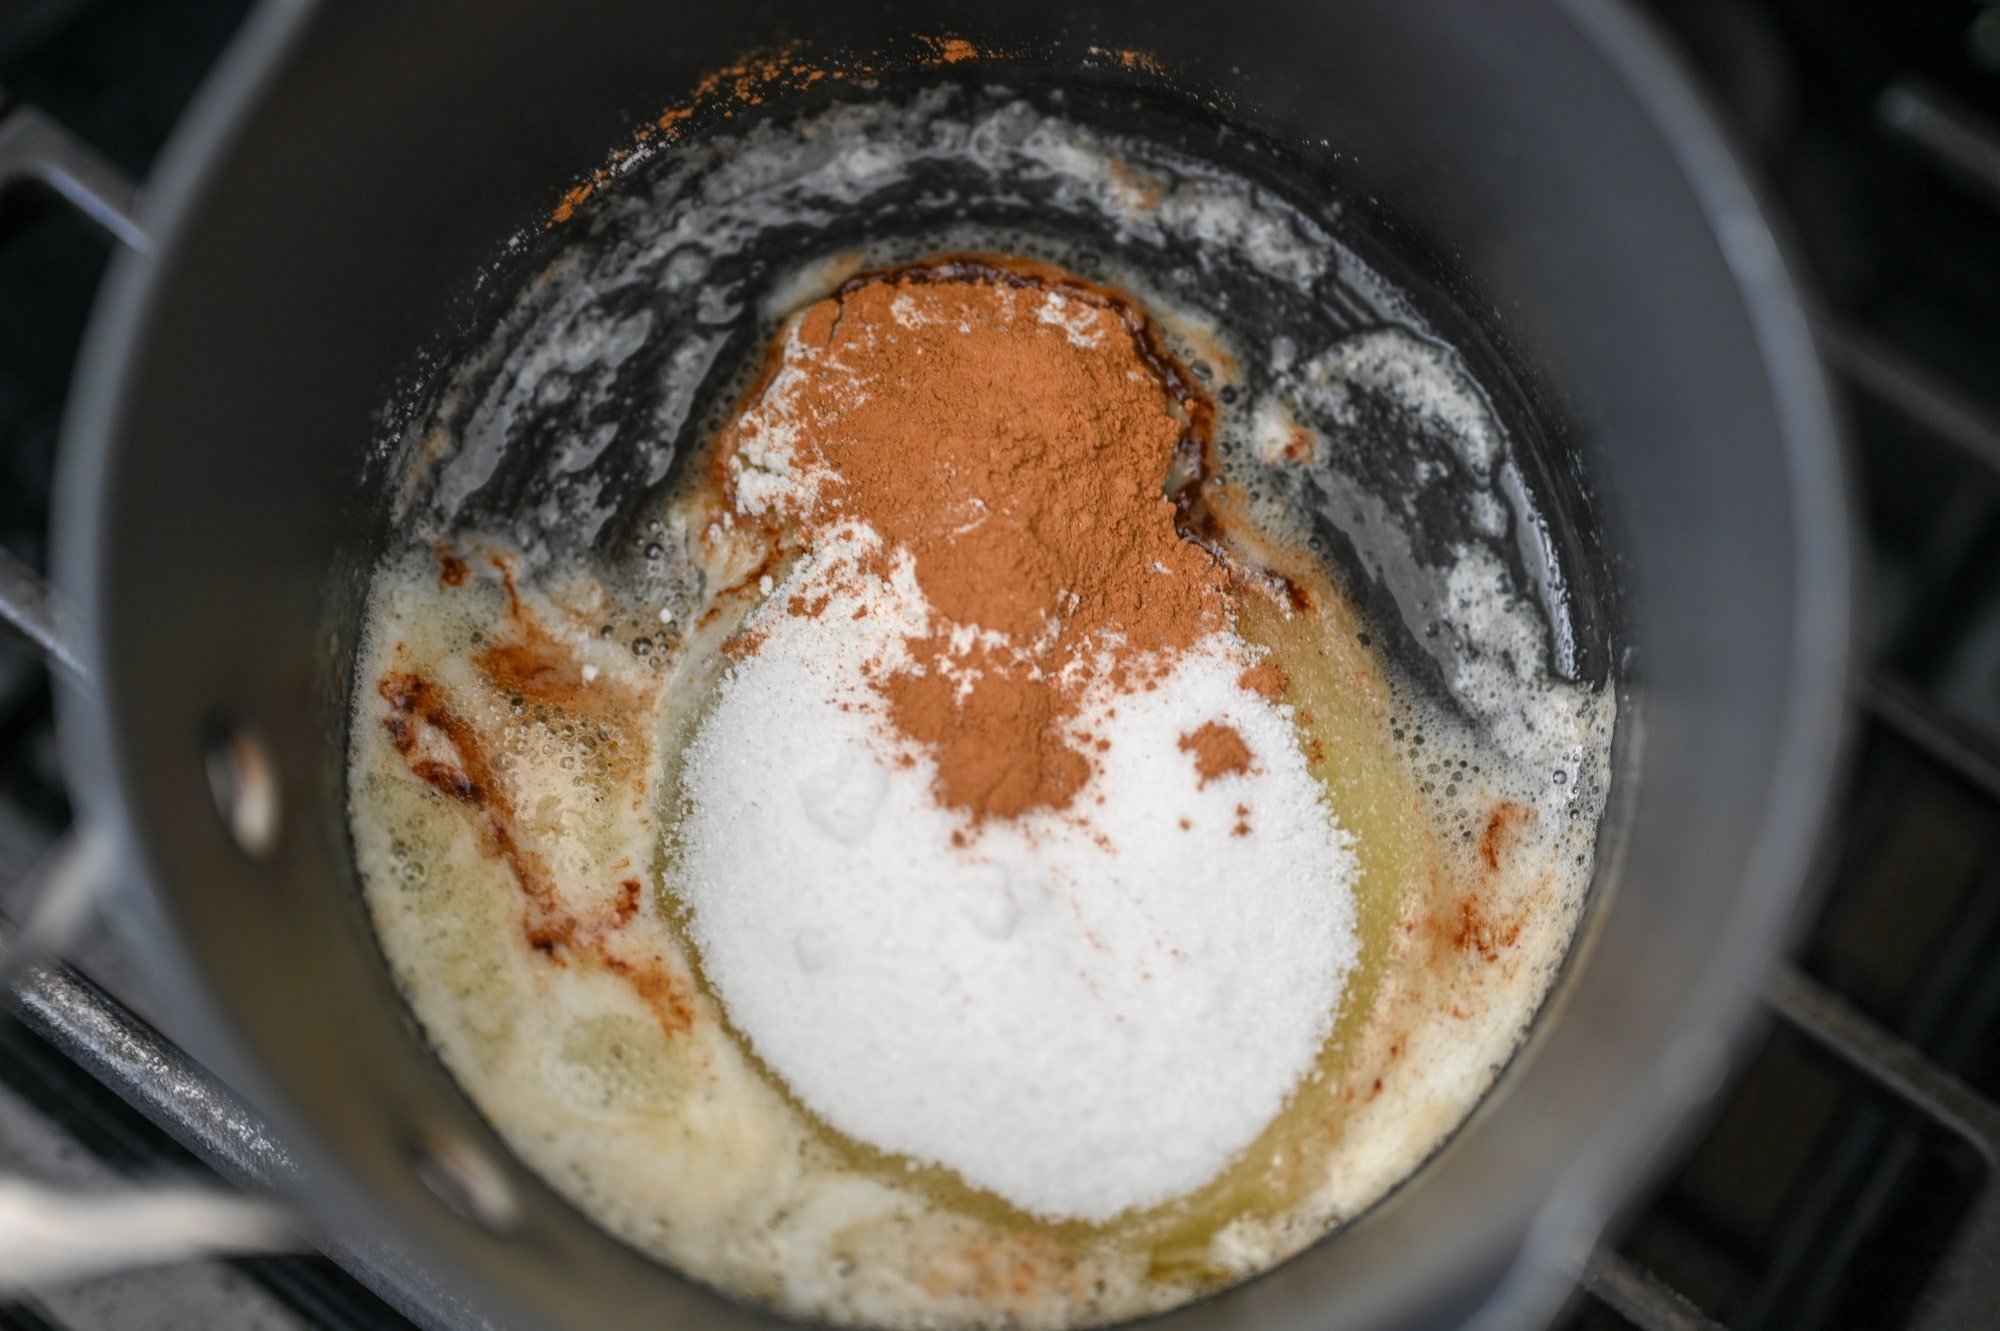
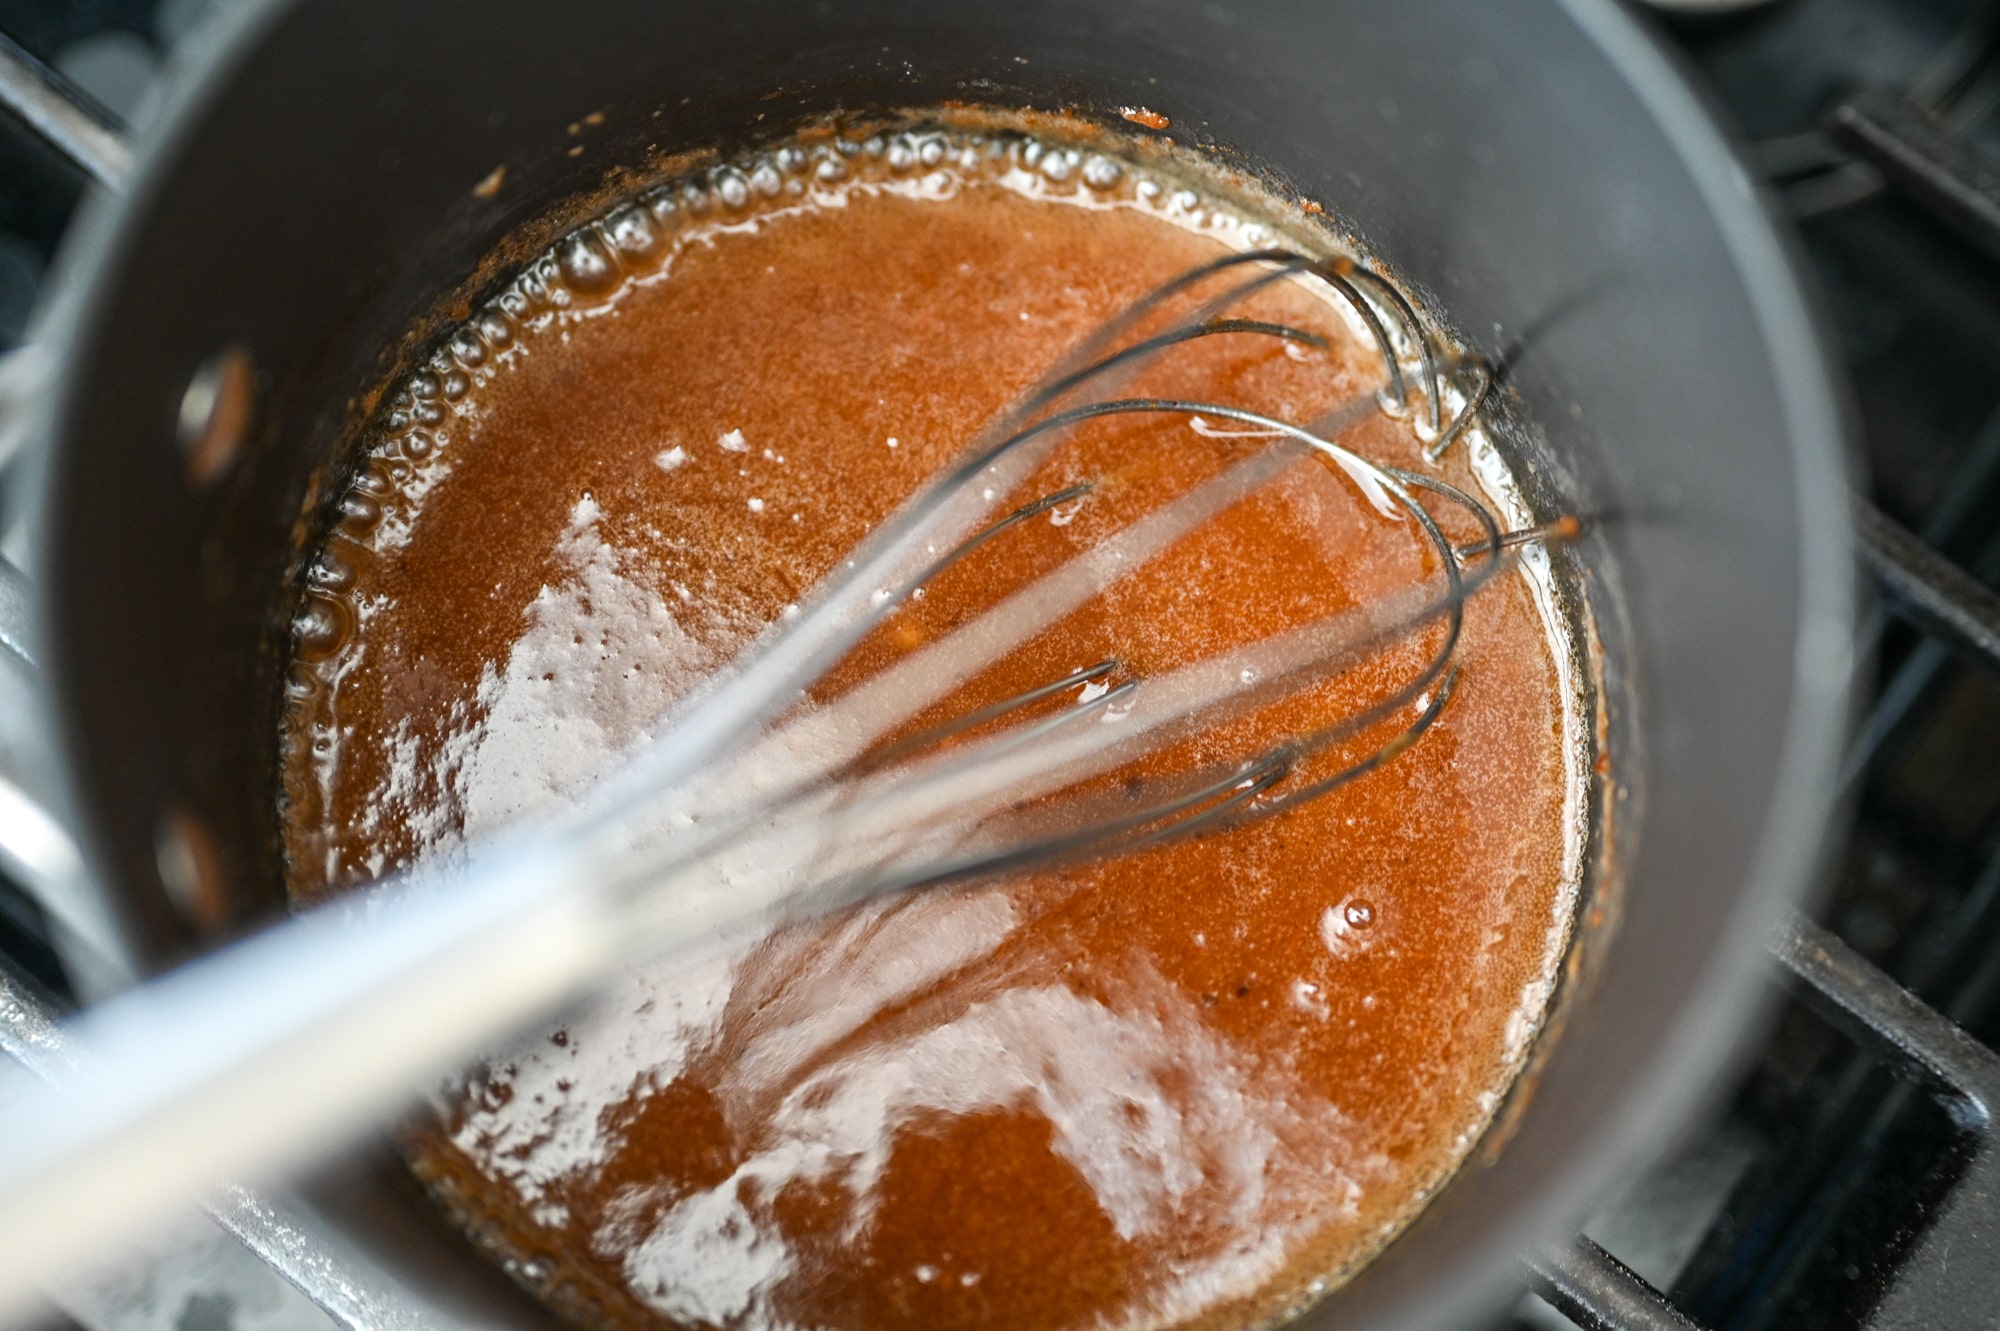
- In a small sauce pan, add the butter, sugar, flour, cinnamon and water. Turn the heat on medium-low and start whisking as soon as the butter begins to melt.Once the butter has fully melted, higher the heat while whisking and bring to a boil. Keep whisking for about a minute then lower the heat and let simmer for 2 more minutes until thickened. Add the diced apples and let cook for a few minutes. Turn off the heat and let the filling cool.
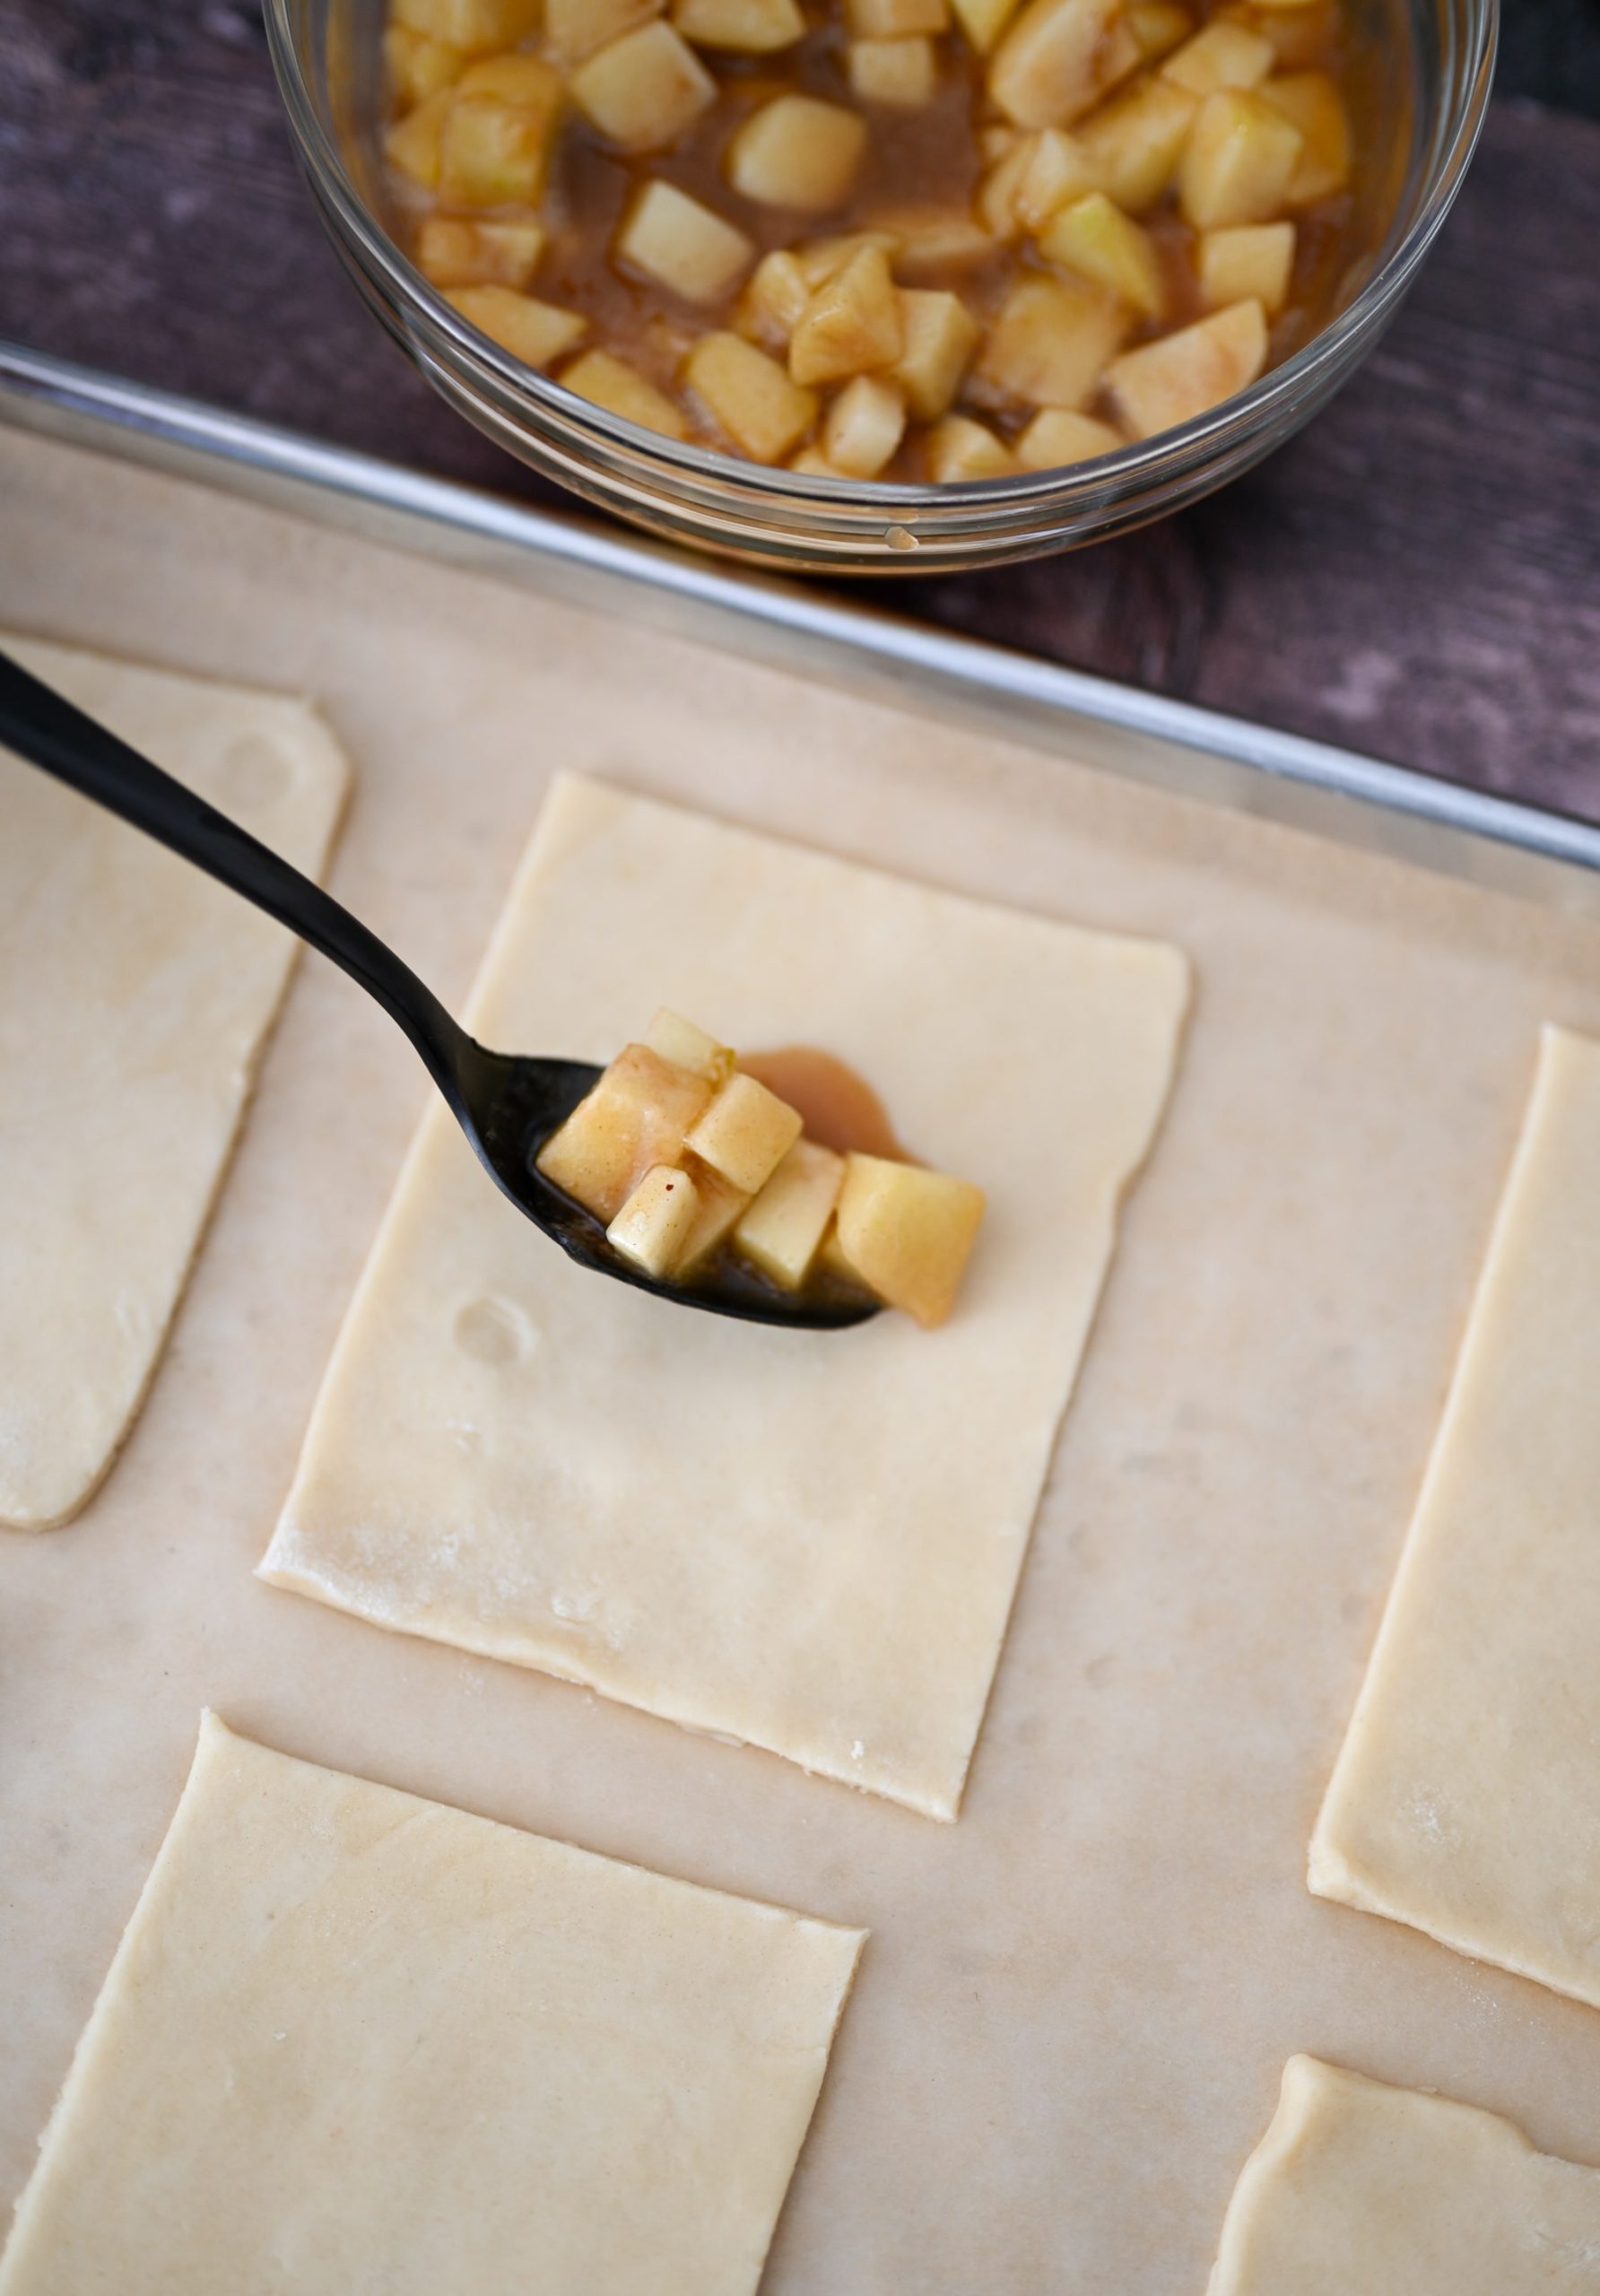
- Remove the pie crust from the fridge and divide into 2 balls. Keep one ball in the fridge wrapped up in plastic wrap while you work with the other. Roll out the pie dough into a large rectangle about ¼ inch. Sprinkle flour as needed to prevent the dough from sticking. Cut six 3x5 inch rectangles out of the dough. Combine and reroll as needed.
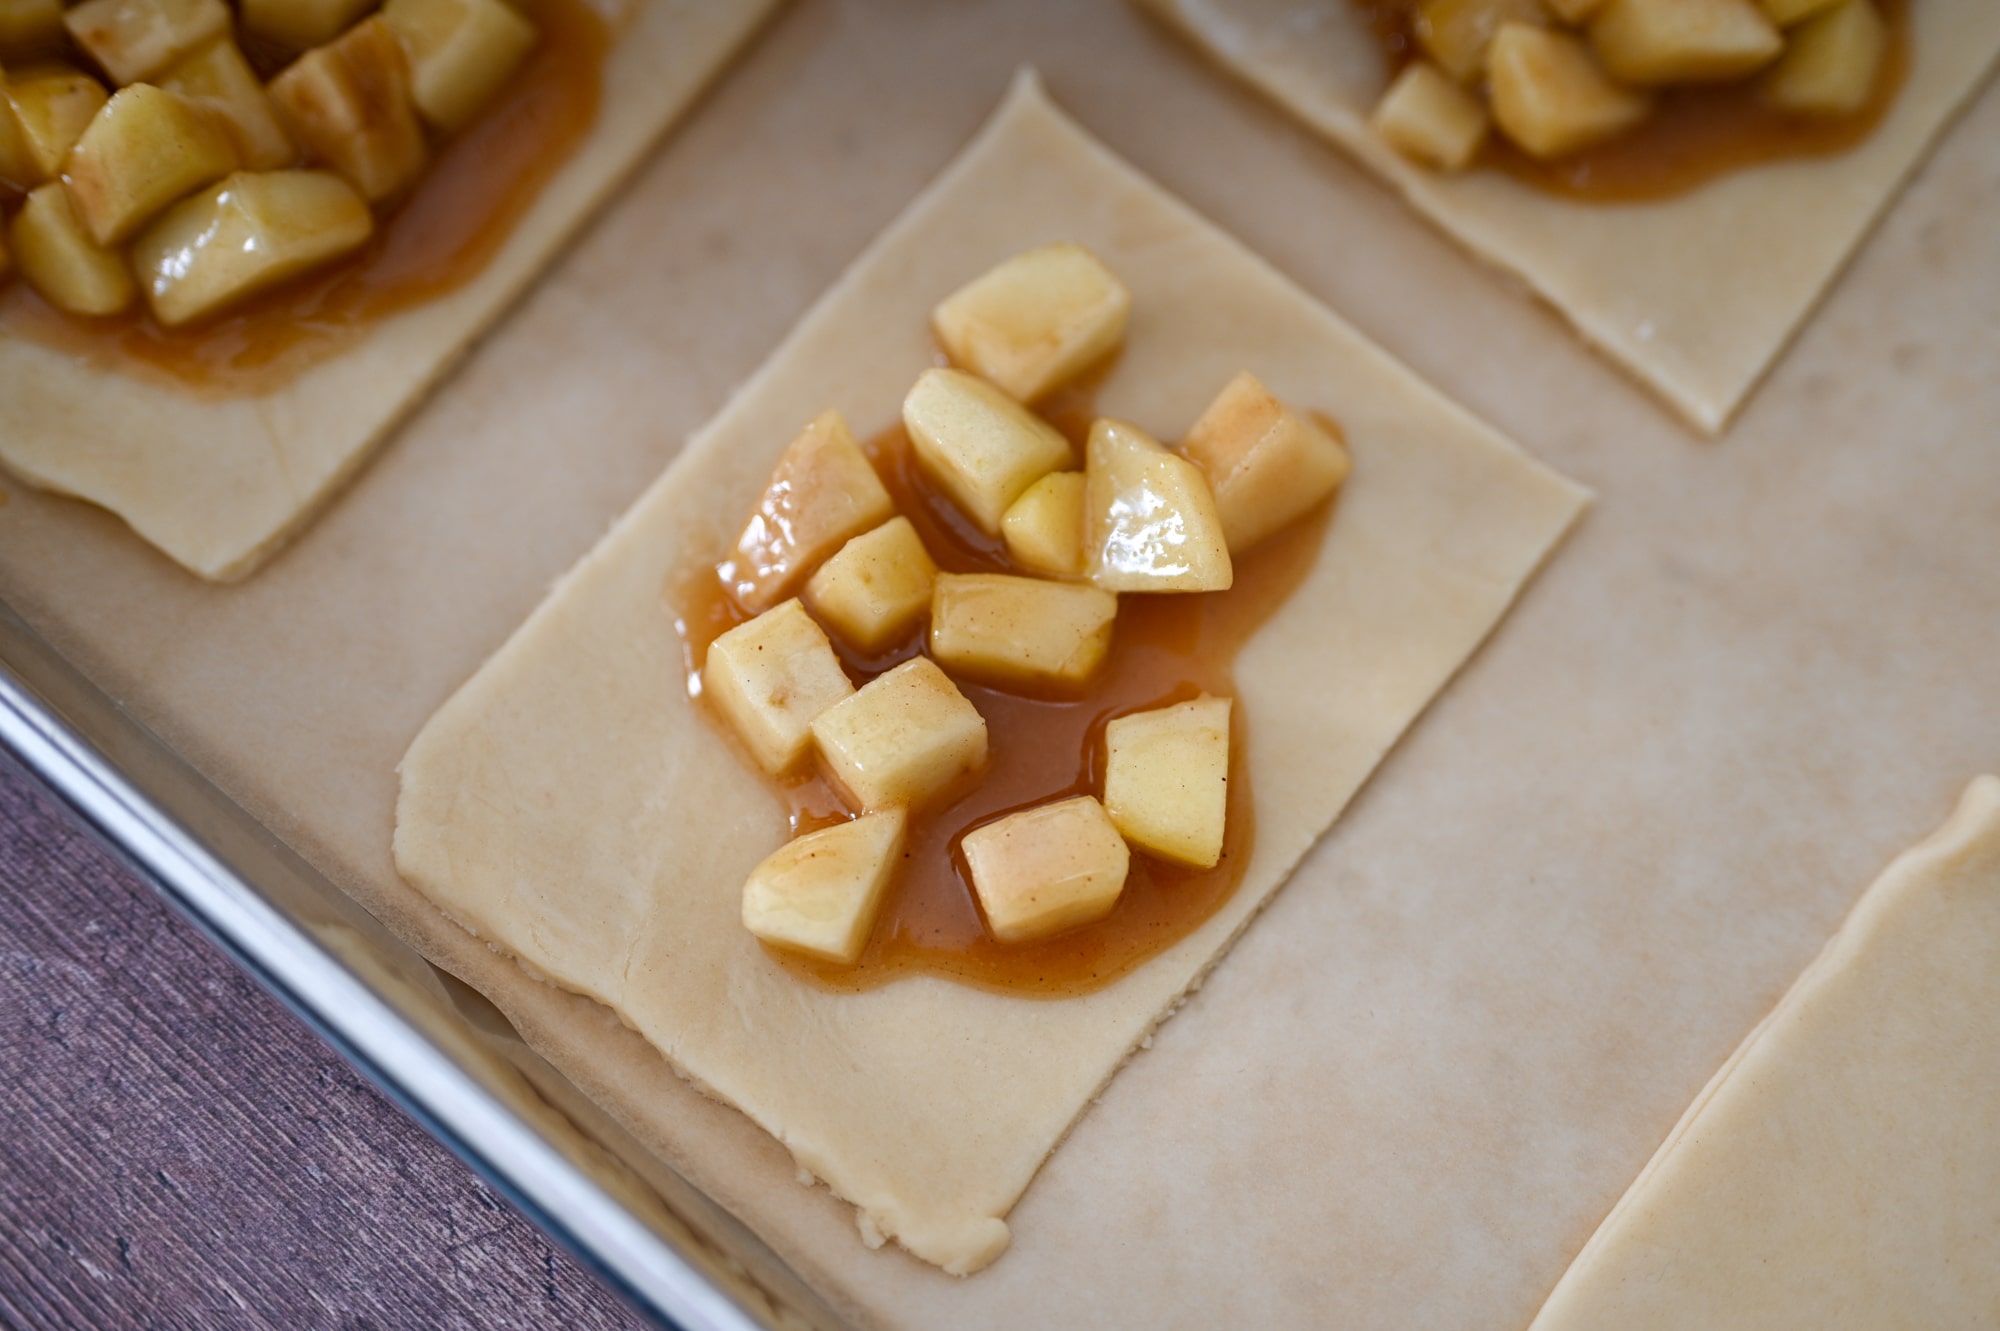
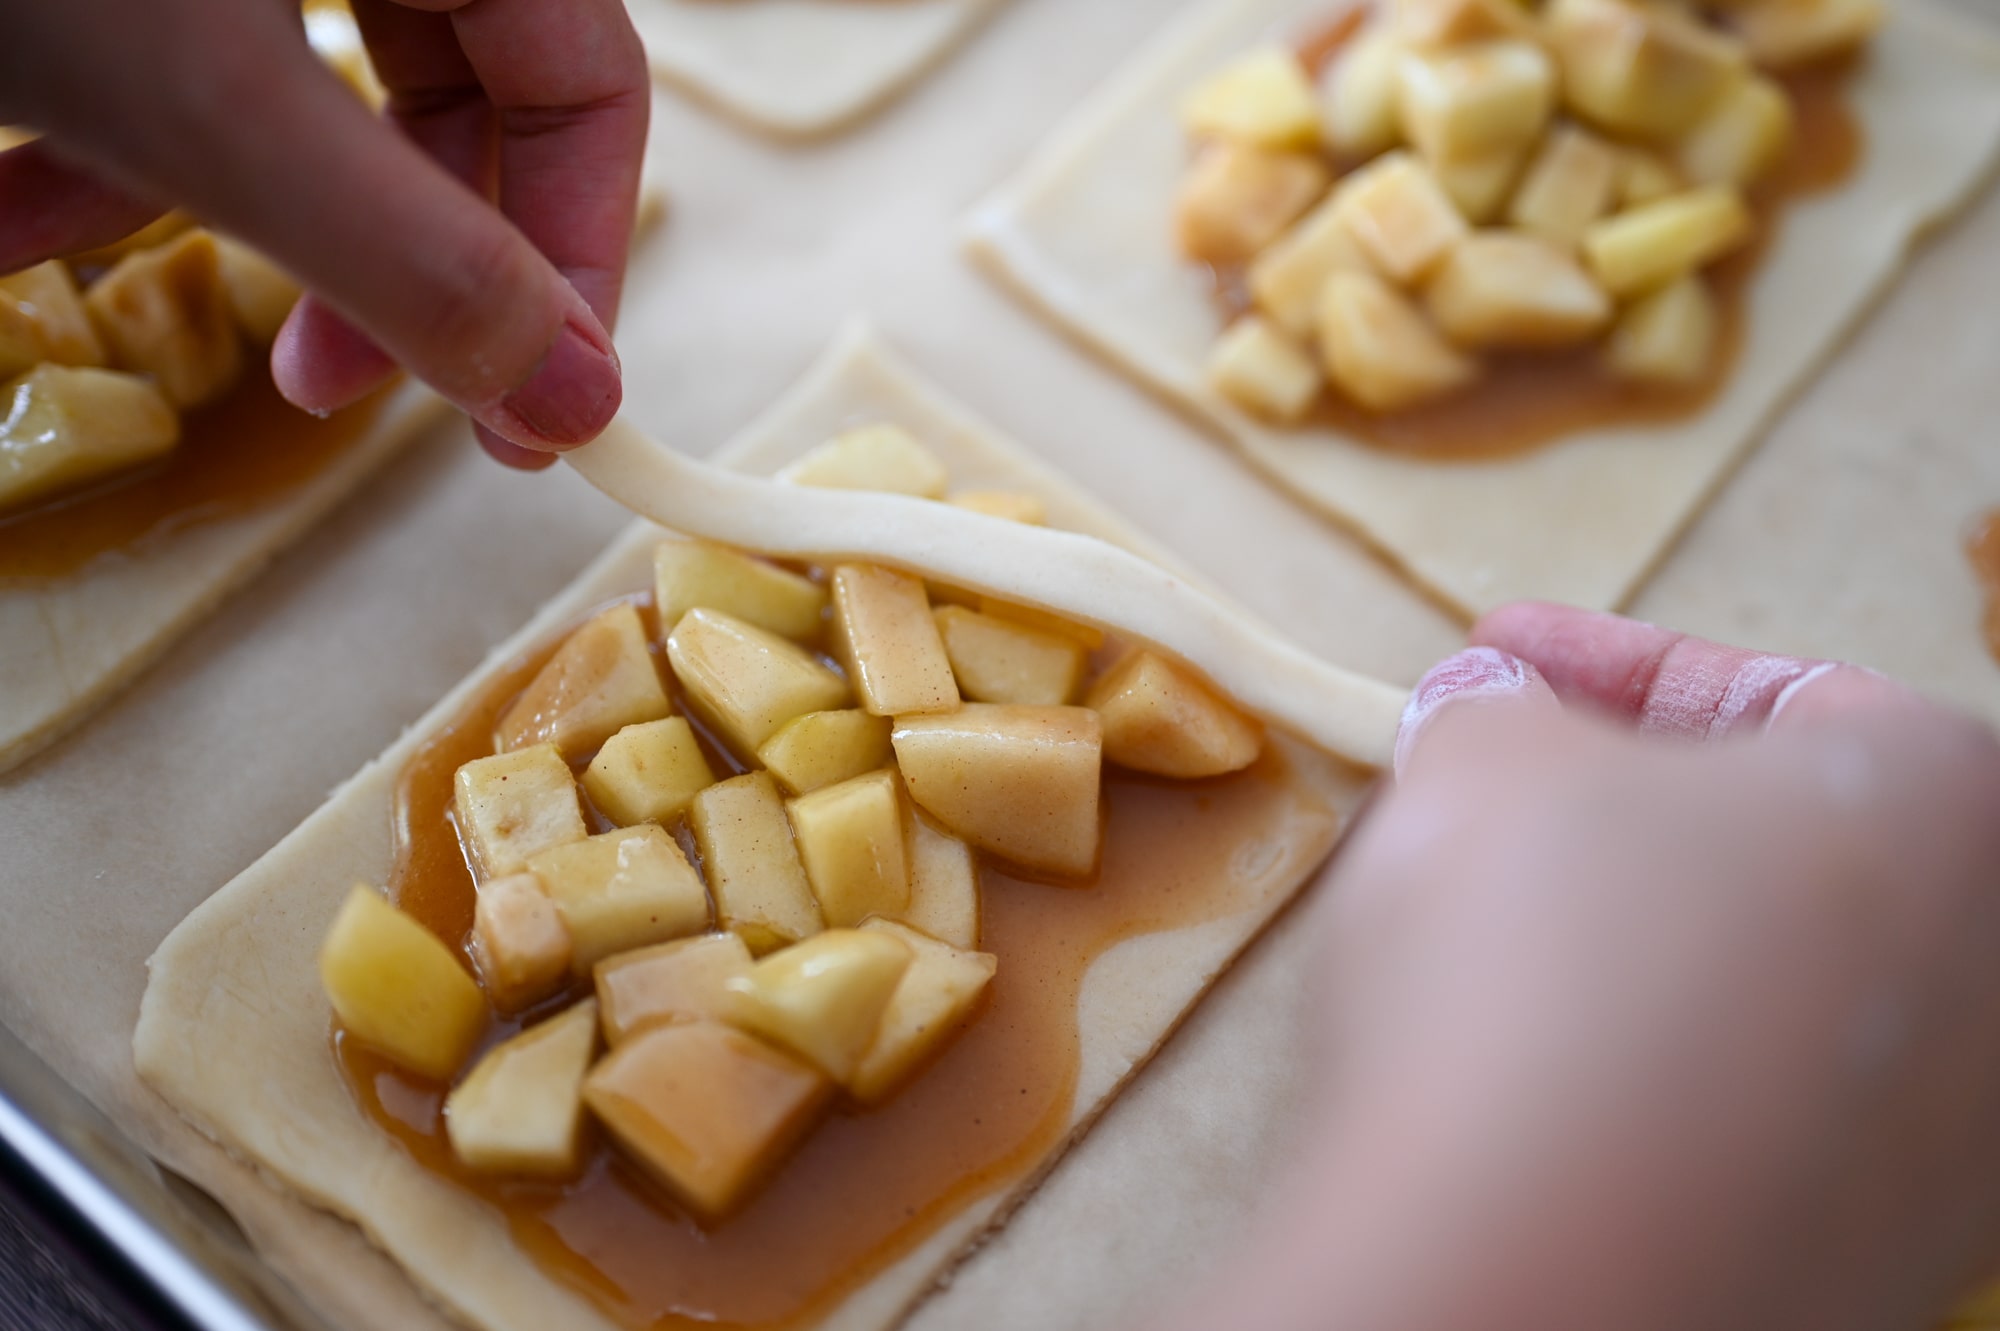
- Add about two tablespoons of the apple pie filling onto the middle of the rectangles.
- Remove the second pie crust ball from the fridge and roll out into another large rectangle about ¼ inch thick. Using a pizza cutter, cut into thin ½ cm wide strips. Using the pie strands, layer the strands to create a mummy look. Leave room for eyeball candies. Seal the edges so no filling comes out.
- Bake on 350 degrees for about 30 minutes until the crust becomes a golden-brown. Remove, allow to cool before topping with eyeball candies.
Nutrition
Calories: 561kcal | Carbohydrates: 66g | Protein: 5g | Fat: 32g | Saturated Fat: 17g | Cholesterol: 61mg | Sodium: 391mg | Potassium: 142mg | Fiber: 4g | Sugar: 29g | Vitamin A: 755IU | Vitamin C: 4mg | Calcium: 23mg | Iron: 2mg


Leave a Review